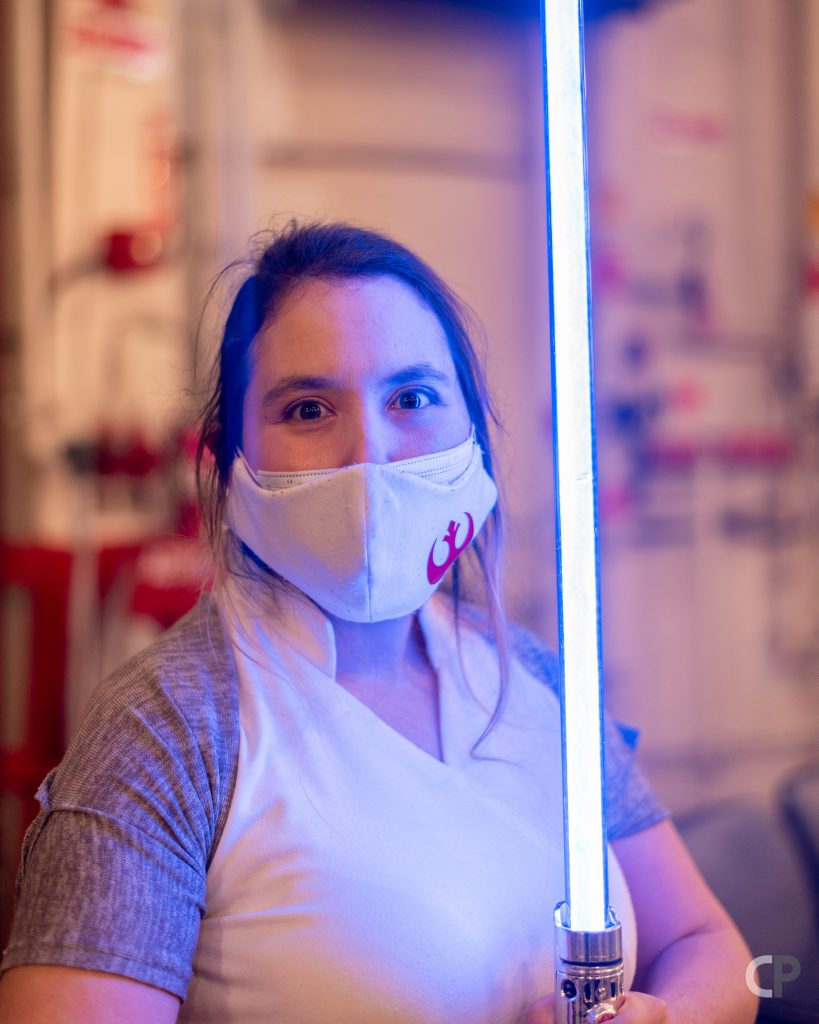
Awards: Make Media & Nvidia’s May the 4th Maker Contest: Cosplay and Prop Winner: Winning Submission
- For: Resistance Rey from Star Wars: The Last Jedi
- Estimated build duration: 1 full week, plus 1 day for writeup
The pandemic showed us the large gaps of technology and internet access across social-economic groups, from people working out of a car because of their unreliable home internet, to students frantically buying a new laptops that they learned that day, that they needed for class.
As an educator, I am aware that students indeed have limited access to 3D printers, laser cutters among others. I wanted to make this prop using methods that are inexpensive to access. I also save a lightsaber toy from the trash, giving it more awesome power than before and being sustainably conscious.
This is the prop summary of this build, and if you’d like to make one yourselve, here’s the winning tutorial on this site, and on Make: Projects.
Media/Materials used
Hardware
- Star Wars: The Last Jedi Rey (Jedi Training) Electronic Lightsaber
- Polycarbonate Tubing, 3/4″ ID x 1″ OD x 1/8″ Wall, Clear Color 36″ L for the blade
- Butcher paper, but any white paper (or even white plastic bags)
- 2mm craft foam
- Some cardboard as a pad for all of the dremeling and plastic bits, for easy cleanup!
- Sandpaper
- Clear PVC 1/4″ tubing. This tube will form a base for the LED strips to attach to.
- 16 gauge wire. This will act as the understructure for the blade.
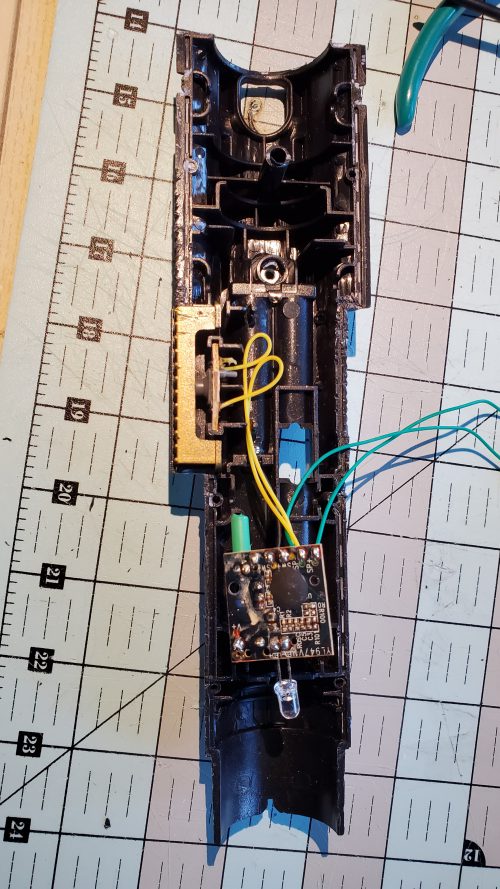
I have used most of the electronics parts from Adafruit’s Lightsaber build, with a few exceptions:
- No need for a speaker; it comes with it. The speaker in their guide is rather nice though, so I do encourage you to give it a try.
- No extra buttons, though feel free to order a few if you’d like to upgrade! We’ll reuse the one provided in the toy.
- The switch is encouraged but not required. the power bank I suggest already has a power button. Though, I do encourage you to have a switch yourself! (and I’ll probably add one in!)
- This power bank. This build is a battle between finding the biggest capacity battery that fits into the small spaces of a hilt. This one seems to both fit and power the lightsaber!
- This JST kit. I had this one around, and it seems to work fine! The one they suggest is a-ok too!
- Twisty ties. Nothing fancy, just something helpful for cable management!
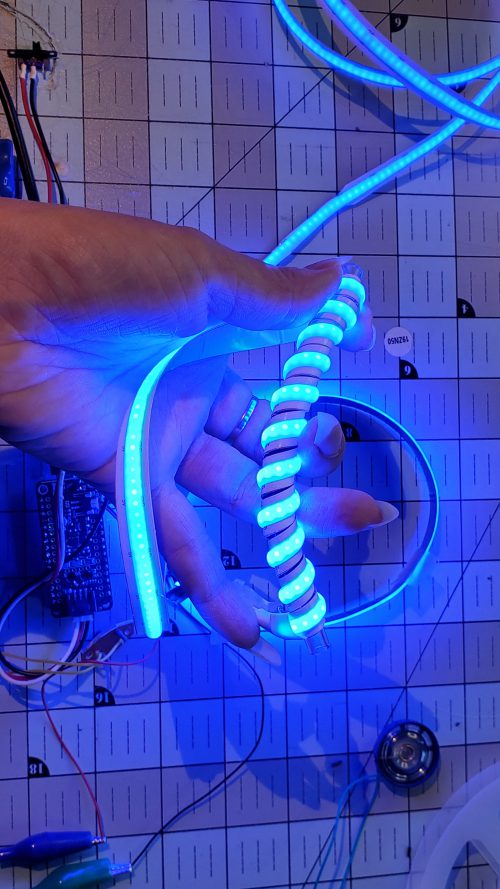
- I used this COB 332 leds/meter LED strip for my build, but for novices, I actually recommend this inexpensive one to start. The one I used is super dense, and I have specific prop goals for that. But, mine is expensive, and you may not need all of those LEDs! Try some cheap ones so you can play with it.
- A MicroUSB to USB cable. This is the one I used, but if you have a few that are lying around without use, it’s worth repurposing!
Tools
- Dremel or rotary tool, with a sanding drum, a ceramic wheel, and other smaller bits.
- Vices, grips
- Solder heat shrink on joints and soldering iron
- Wire stripper
- Respirator, safety goggles. Safety is the upmost concern.
- A silver marker
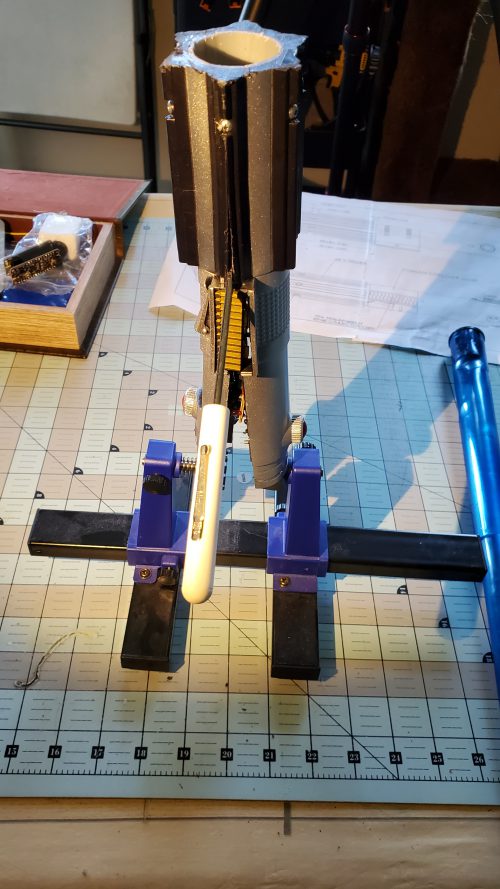
Notable Construction Notes
The core benefit and drawback of the non-3d-printing approach all are about physically shaping you want (and how time-consuming that can get). It requires iteration, patience, and plenty of rounds on the rotary tool to carve out space or your electronic components. But this simple approach is calming and precise. I get snug fits for my components and I get to enjoy carving in this project.
The lighting portion of this project was rather satisfying! The LED strip I chose makes you feel like you’re holding light itself;
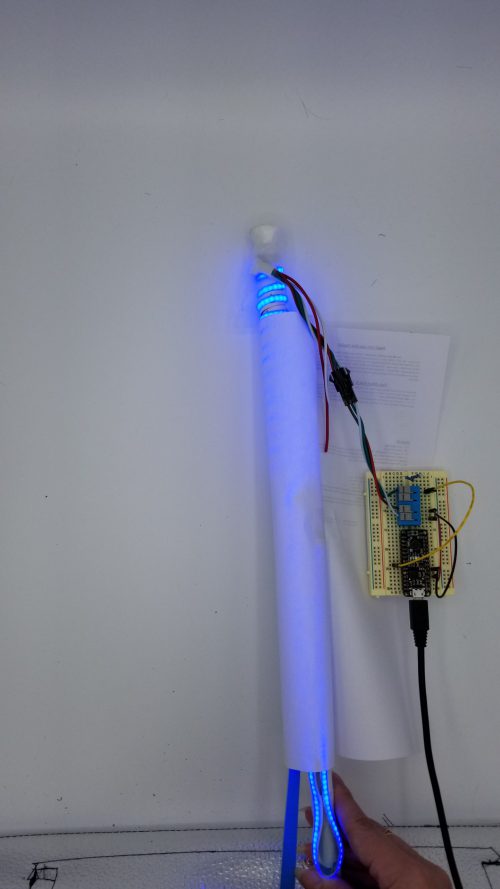

Latest Version
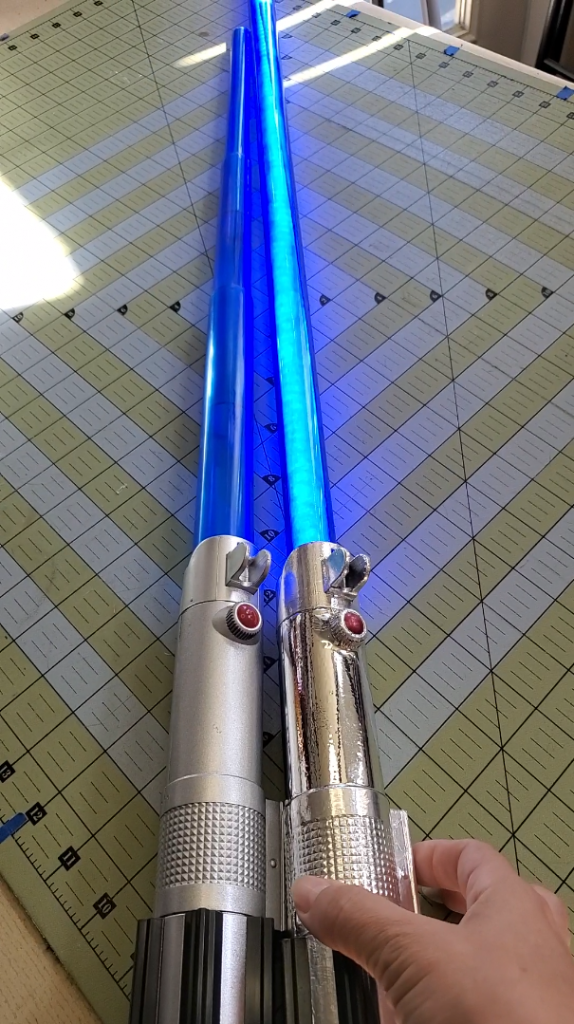
After taking this to SiliCon 2021, I ran an informal study on the lightsabers to see what photographers think of its brightness. Briefly, it was on the right track! The biggest takeaway was to prioritize brightness, as the COB LEDs I used were too small. The trick was to use bigger LEDs and just focus on the color white, with a blue plastic tube!
I also met the creators of Adafruit’s Lightsaber build, Bill Doran from Punished Props and Sophy Wong, through intro by Bill. My cosplay seniors just loved it, and it just made the whole con for me!
After trying a myriad of different:
- different plastic tube blades, both in color and size
- spray paints, both blue for the lightsaber and for the hilt
- different diffusion methods varying from vinyl, foams, batting
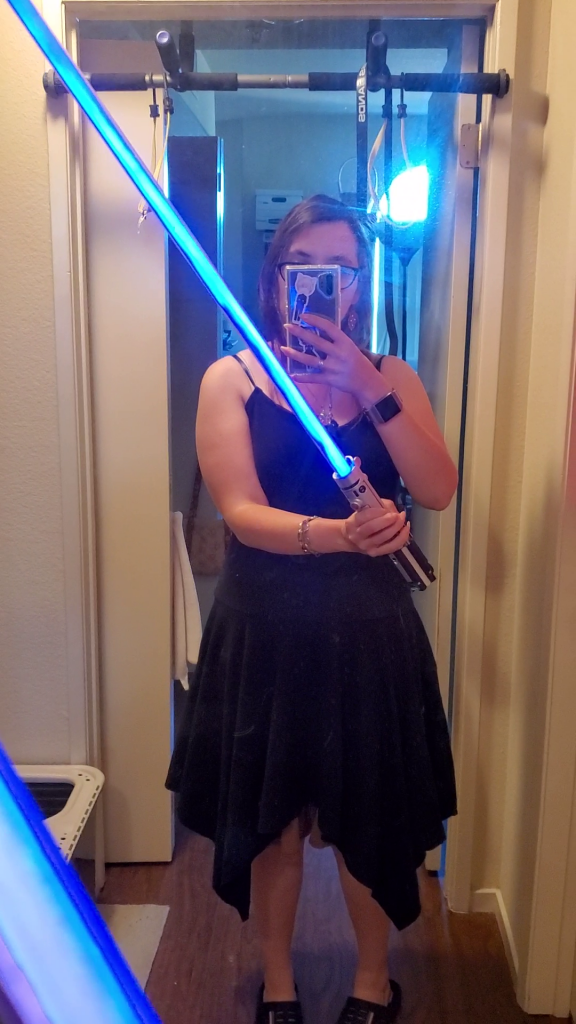
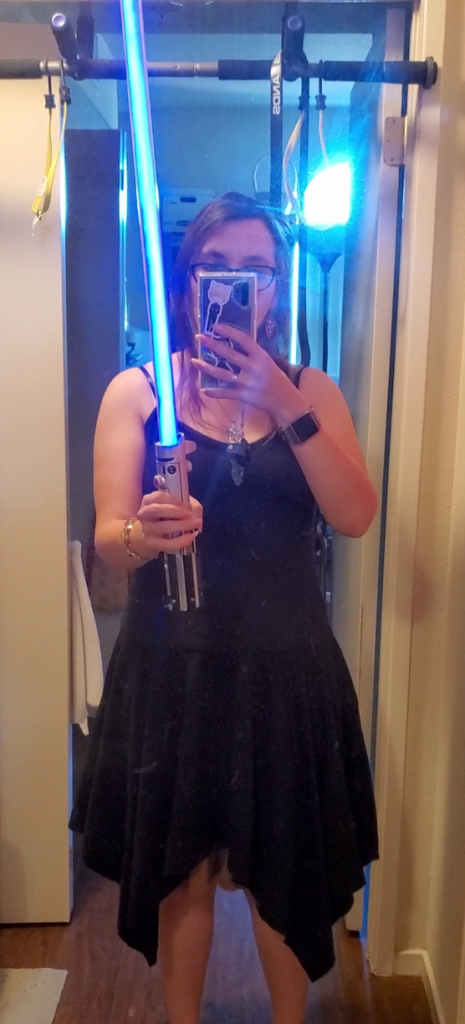
I finally met my goal at CarrierCon 2022!
Results
The resulting lightsaber is incredibly bright, loud, and interactive with hits. I am excited to take this to Silicon 2022 and really test out how bright this can be. I almost wonder if my lightsaber is almost too loud, even considering the loud environment of a convention.
Another significant result is being a winner to Make’s Math the 4th Challenge, and I have been receiving nothing but positive feedback on it. I hope more people repurpose and customize these toys to their liking.
As highlighted in the tutorial, there are several opportunities to improve and upgrade lightsabers like these. I’m also planning to sense where the blade is touched, and have that area be super bright. That challenge is easier and cheaper said than done, but I have some promising ideas and materials to play with!
Image gallery